Showing posts with label Mexican. Show all posts

Tuesday, August 24, 2010

Pickled jalapenos - A recipe from my Grandpa

Grandpa always had a jar of pickled jalapenos.  It was an old Nescafe instant coffee jar.  He even traveled with it going so far as to put a jar in his carry-on luggage when he visited.  I vividly remember that he brought it out at every meal, pulled out a pepper, finely diced it and put it over all his food.  Being a foodie from an early age I had to know what it was he was doing.  Furthermore, I had to have some.  My Grandpa politely told me that "girls don't eat jalapenos".  Well I would have nothing with that!!  Of course I got my way.  I was a wily nine year old.  Plus he was trying to show to me that I would not like it.  Grandpa was right, I didn't like it.  I LOVED IT!!  So now that he had a companion in his jalapeno habit, he taught me how to make them so I could have some with me at all times just like him.  I have only tweaked the recipe to add one thing - carrots...  I adore the semi-crunchy sweet/spicy orange rounds and usually scarf them up first.  You can add pearl onions but that is just not my thing.  Maybe it's yours.  You can add it to a martini to bump it up a notch or three.

This batch is particularly special because the jalapenos come from my very own backyard.  Now that you know the history of the pickled jalapeno, I present you with the recipe from my late Grandpa, Salvador Lozano. 

I started with my freshly picked (and subsequently washed) jalapenos and organic carrots I picked up at The Fresh Market


8 jalapenos
1 bunch carrots (peeled and cut into fat coins)
5 cloves garlic (peeled and gently smashed)
1 tablespoon whole peppercorns
4 -6 bay leaves (I used all my broken leaves)
1 tablespoon sea salt
17 ounce bottle olive oil
17 ounces white vinegar
17 ounces water

First you empty the olive oil into a sauce pan.  Fill the empty bottle with vinegar and add it then do the same with cold water.  Add the garlic, peppercorns, bay leaves, salt, and carrot.  Slice one jalapeno in half and add to pan along with the other whole jalapenos.  Turn the heat to high and bring to a boil.  Once boiling, reduce to a simmer and allow to simmer 10 - 15 minutes until the carrots are at your desired tenderness.  I usually go with about 10 - 12 minutes because I prefer a bit of a bite on the carrots.


Discard the bay leaves.

Take a slotted spoon and ladle the veggies into clean mason jars.  I divide things up as evenly as possible.  I include the garlic and peppercorns because I am sassy that way.  Add the liquid and make certain all the veggies are submerged.  Be sure to leave enough room for the lid.  This will keep in the pantry for six months.  I do not think I've ever had a jar that long because I usually have eaten it all. 

The recipe above yielded two full pint jars and partially filled a quart jar.  It left me with a lot of extra liquid.  I kept about a quart of it and I use it to add a little heat to greens or a pot of pinto beans.  Trust me when I tell you it packs a punch and a little goes a loooong way so use your imagination.  Leave me a comment if you come up with some fun, funky way to use the liquid.  Oh!  Gently shake the bottle of liquid to blend before you add, trust me on this.


Now that I've shared just a smidgen of my past with you I hope you will try this.  You just may discover what Grandpa knew and taught me, jalapenos are good on just about anything.  Try it in scrambled egg tacos, over a grilled chicken breast, on fresh corn...  Add a dollop in the next time you make guacamole or salsa.  You won't be disappointed.


Wednesday, July 07, 2010

Hot tamales

Earlier this year, Mama and I met up with some other ladies from church.  We do this on occasion to learn to make some new, tasty treats.  This time we were creating something Mama and I adore.  Tamales are some of our favorite things.  Both she and I grew up in San Antonio and to say we are tamale snobs is a HUGE understatement.  We have wanted to learn to make tamales forevah.  Finally, we were going to actually do it...  Sweet!

If you are going to make tamales, you're going to need to do a little prep.  And by a little prep, I mean a lot.  First you have to soak the corn husks to make them pliable.  You will need boiling water and something to hold them down.  It takes a bit of time but the 'males need jackets.

Your other assignment, should you choose to accept it, is to make the filling(s).  Here is where you can be creative.  For our group session we had several things we all found on the net:  venison, beef, pork, chicken, beans, and some sweet version that involved raisins.  I despise raisins and I think someone ruined a perfectly good tamale, but that's another story.

After the husks are soaking and the fillings are doing whatever it is they do until it becomes an edible work of art, you need to mix the masa.  The recipe for that is on the bags of masa harina.  You can find that in either the Hispanic aisle or near the flour in your local grocery.  This will be thick and will need to be kept moist while you work.  This is why making tamales is generally a group activity.  It takes many hands.

Once everything is in order, assembly begins.  Each of us had our own cookie sheet so we did not make quite as bad a mess.  You take a corn husk (or what Mama and I call tamale shucks) and smear a good layer of the masa on it.


Then you add the filling of your choice.  Not too much, not too little, just the right amount.


I am so upset I did not get a photo of the rolling process.  It is a tad tricky but once you get it going you get into a rhythm.  When you have them filled and rolled, tie them off with a bit of kitchen twine.  We cut strips so we could keep on keeping on...


We made oodles and oodles of them.  Some of each flavor (with the exception of the dreaded raisins).


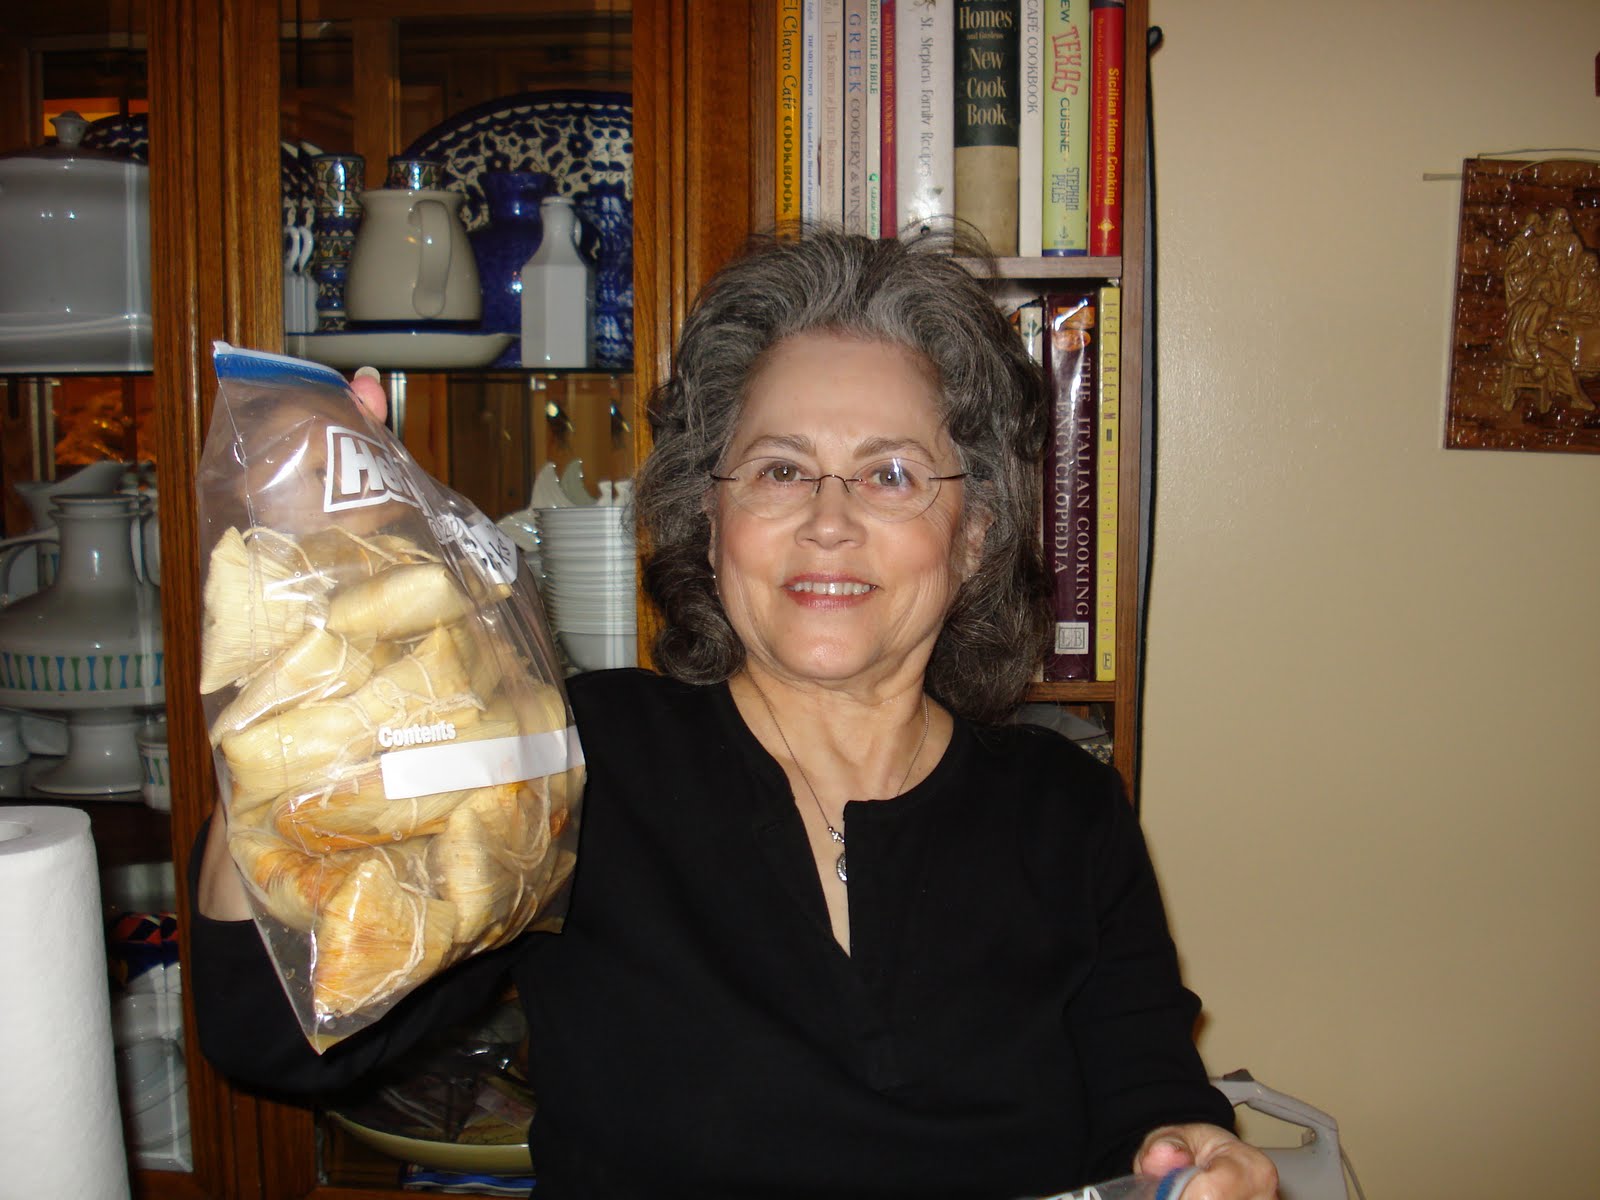
Here is my beautifull Mama with one of the 5 or 6 bags full of tamales we left with...  Yum!


Now onto the cooking process...  To cook these little bundles of happiness, you need to steam them.  Do not double stack them.  Instead try standing them up like delicious little soldiers.  Allow them to steam for a couple of hours.


Mine were not the prettiest; however, what they lack in looks they make up for in flavor.


Dinner is served!!